Tails is a portable and FOSS operating system that protects against surveillance and censorship, and can run on a USB stick.
Sparrow is a FOSS Bitcoin wallet for those who value financial self sovereignty. Sparrow’s emphasis is on security, privacy and usability.
If you don't already have Tails, the instructions on their website are straightforward, just select the OS you will be using to create the USB stick and follow them.
https://tails.net/install/index.en.html
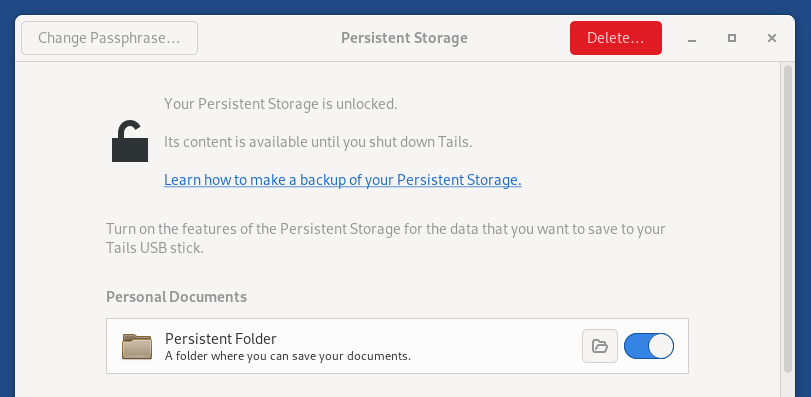
Once you have Tails, you will need to enable Persistent Storage and Dotfiles so that you can install Sparrow Wallet and add it in the navigation bar.
You can enable them during setup or from: Applications > Tails > Persistent Storage.
Once you have that set up, you can continue with installing Sparrow.

1. Start Tor browser and go to
https://github.com/sparrowwallet/sparrow/releases/latest
The version listed there will be the version downloaded. Currently the latest version is 1.9.1, if a new version comes out, just replace 1.9.1 in all the commands below with the version number you are installing.
2. Go to Applications > Utilities > Terminal to open a terminal and run the following command to create a Downloads directory:
mkdir ~/Persistent/Downloads
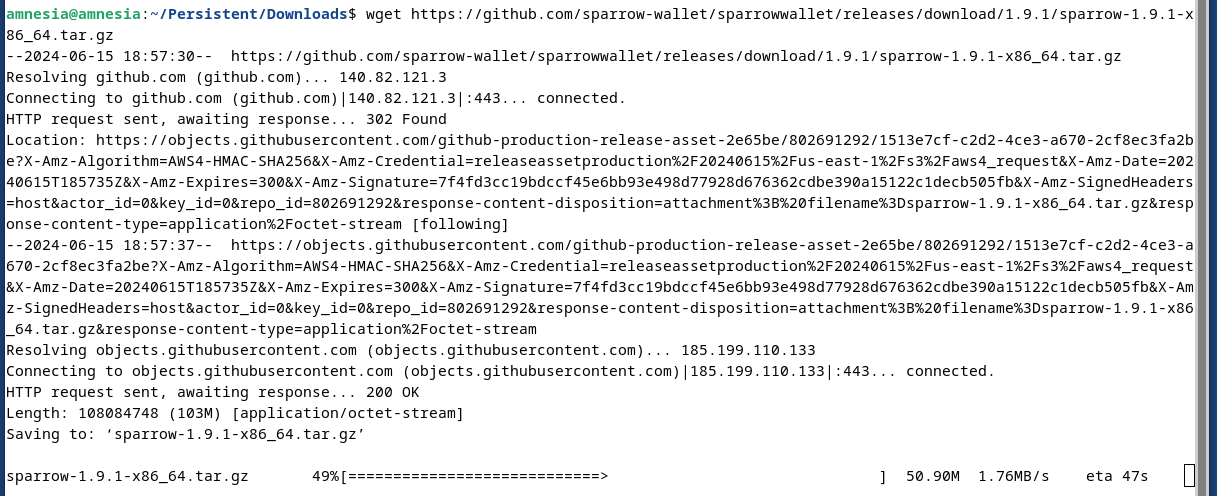
3. Next we will change to the newly created directory and download Sparrow Wallet:
cd ~/Persistent/Downloads
wget https://github.com/sparrowwallet/sparrow/releases/download/1.9.1/sparrow-1.9.1-x86_64.tar.gz
4. Next, let's download the manifest files to verify the software:
wget https://github.com/sparrowwallet/sparrow/releases/download/1.9.1/sparrow-1.9.1-manifest.txt
wget https://github.com/sparrowwallet/sparrow/releases/download/1.9.1/sparrow-1.9.1-manifest.txt.asc
curl https://keybase.io/craigraw/pgp_keys.asc | gpg --import
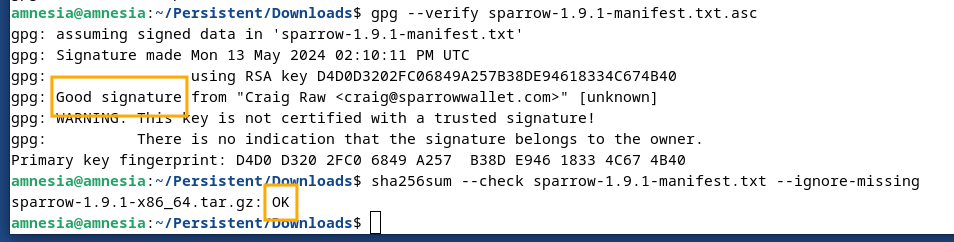
5. Now let's verify Sparrow Wallet with the following 2 commands:
gpg --verify sparrow-1.9.1-manifest.txt.asc
sha256sum --check sparrow-1.9.1-manifest.txt --ignore-missing
For the first command, you will see "This key is not certified with a trusted signature!". This means that PGP doesn't place a high level of trust in the key downloaded from the internet. For this step to be considered successful, look for Good signature.
If the output of the second command does not end with OK, do not proceed. If it ends in OK you are good to go.
6. Unzip the downloaded version in the Persistent folder:
tar -xvzf sparrow-1.9.1-x86_64.tar.gz -C ~/Persistent
7. Create a Desktop icon to more easily access the application:
mkdir -p /live/persistence/TailsData_unlocked/dotfiles/.local/share/applications/
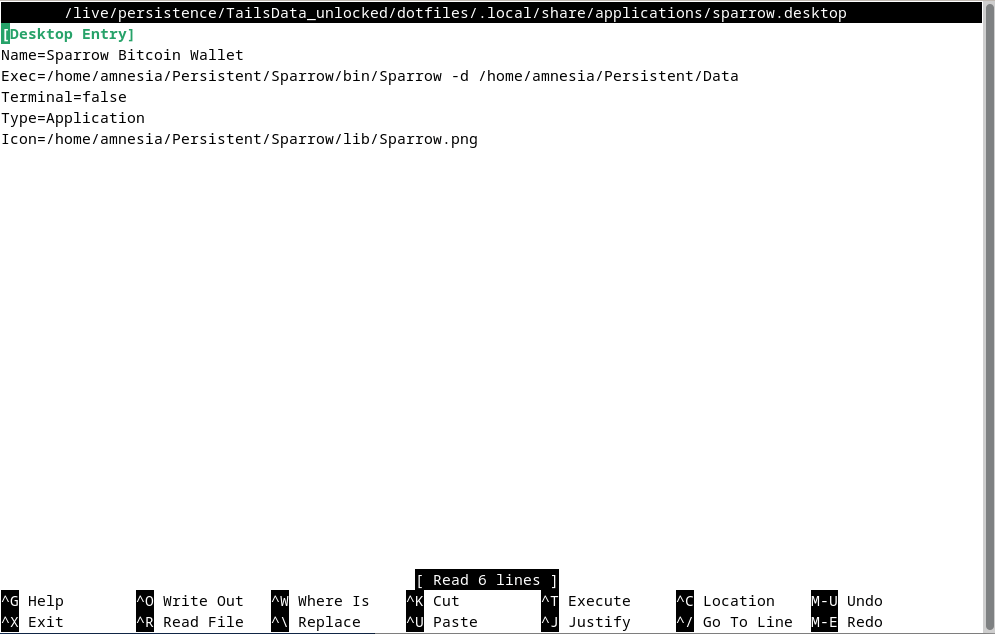
nano /live/persistence/TailsData_unlocked/dotfiles/.local/share/applications/sparrow.desktop
8. Paste the following in nano, then press CTRL + X, followed by Y to save:
[Desktop Entry]
Name=Sparrow Bitcoin Wallet
Exec=/home/amnesia/Persistent/Sparrow/bin/Sparrow -d /home/amnesia/Persistent/Data
Terminal=false
Type=Application
Icon=/home/amnesia/Persistent/Sparrow/lib/Sparrow.png
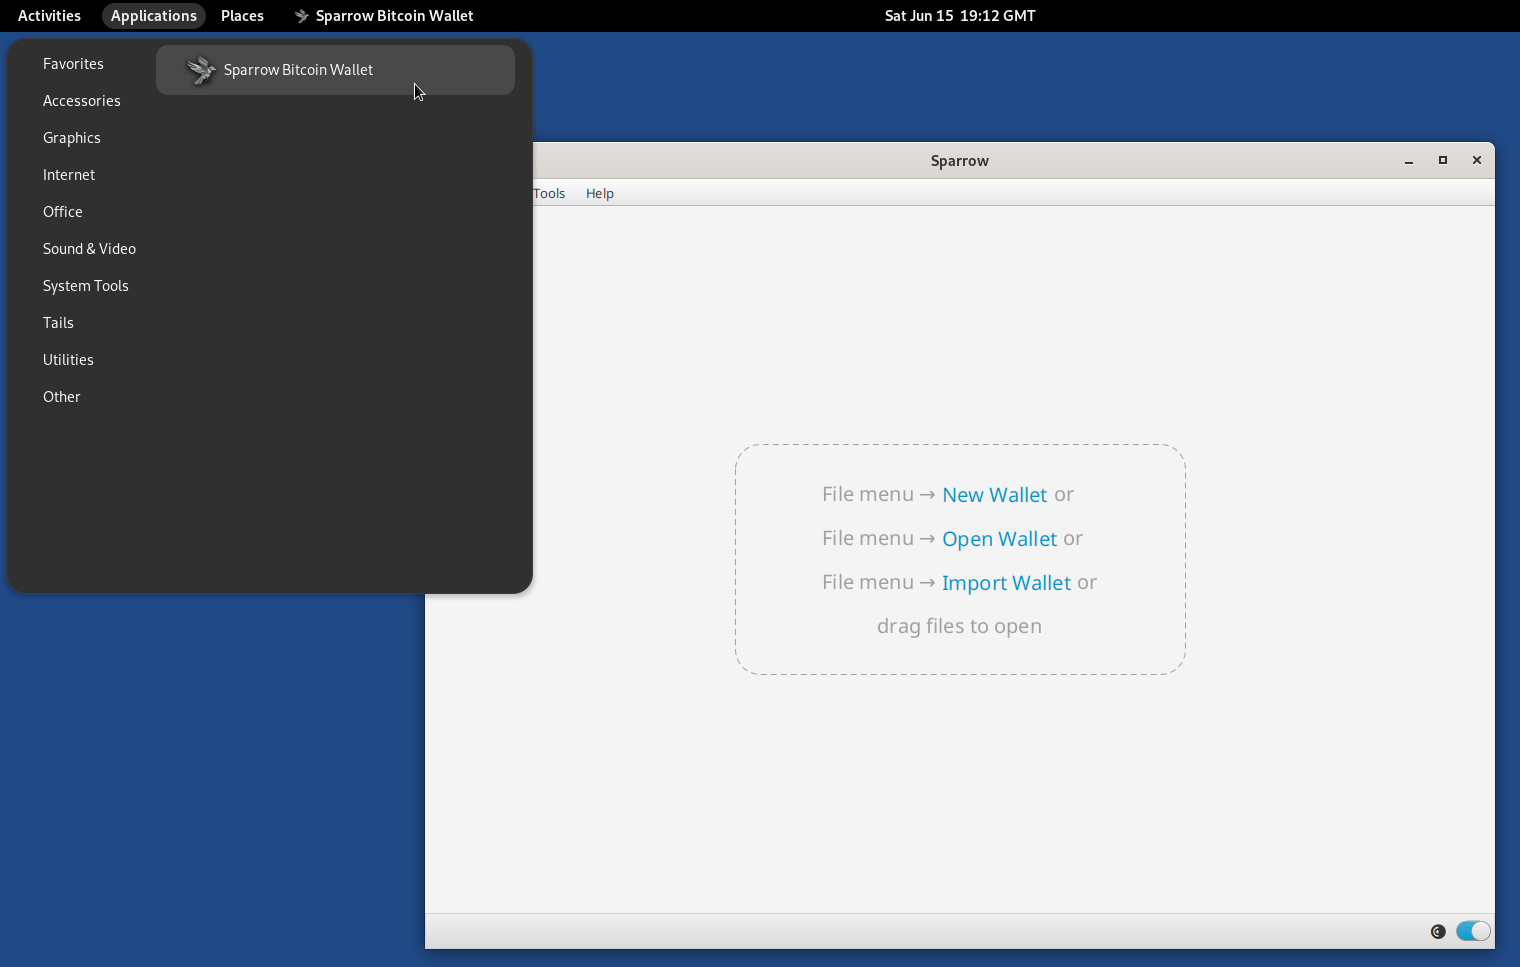
And there you have it 💪, restart and then you can open Sparrow Wallet from the navigation bar in Applications > Other > Sparrow Bitcoin Wallet
or from from the terminal:
~/Persistent/Sparrow/bin/Sparrow -d ~/Persistent/Data
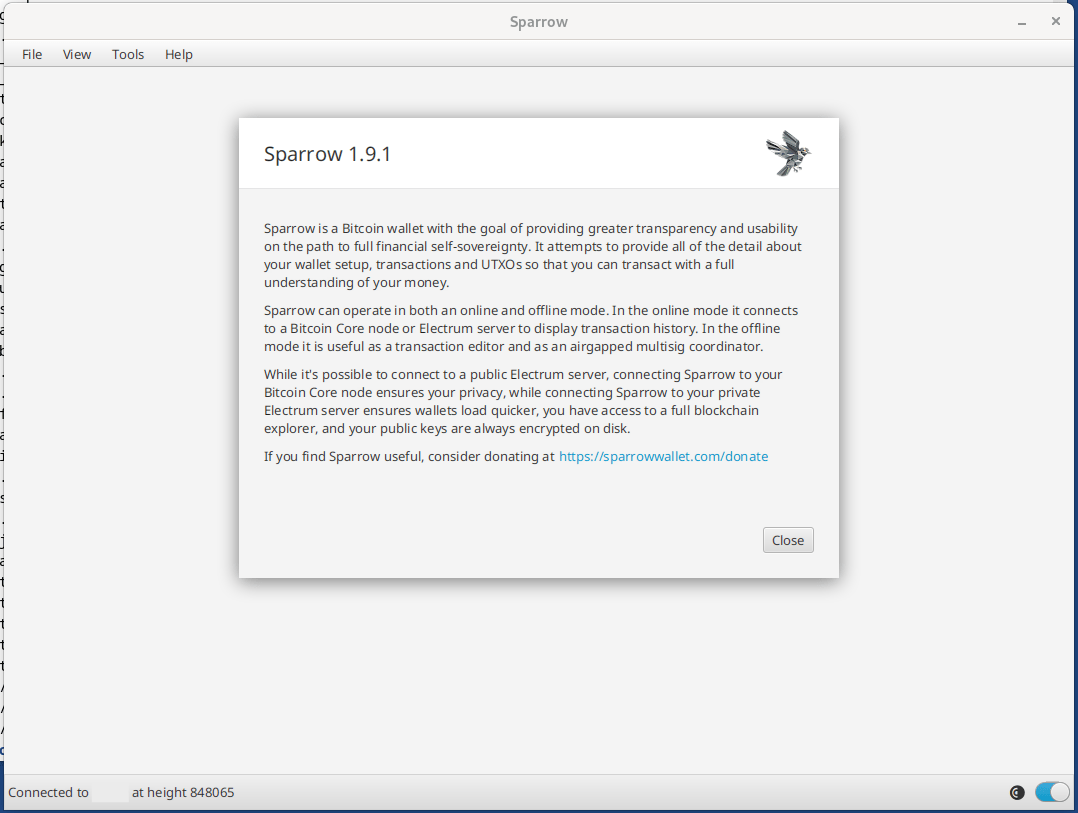
Sparrow is now installed in ~/Persistent/Sparrow/ and your Sparrow confs and wallets will be in ~/Persistent/Data allowing for easy updates.
To update Sparrow when a new version is available, just repeat steps 3 to 6 replacing the version number.
If you liked, also check out the post below and https://svrgnty.com for more bitcoin resources
It's crucial to secure your #bitcoin seeds on metal. Putting your seed to metal ensures durability and longevity, protecting it from physical damage, fire, and water, and safeguarding your bitcoin.
Here are some best practices and tips on how to do that:
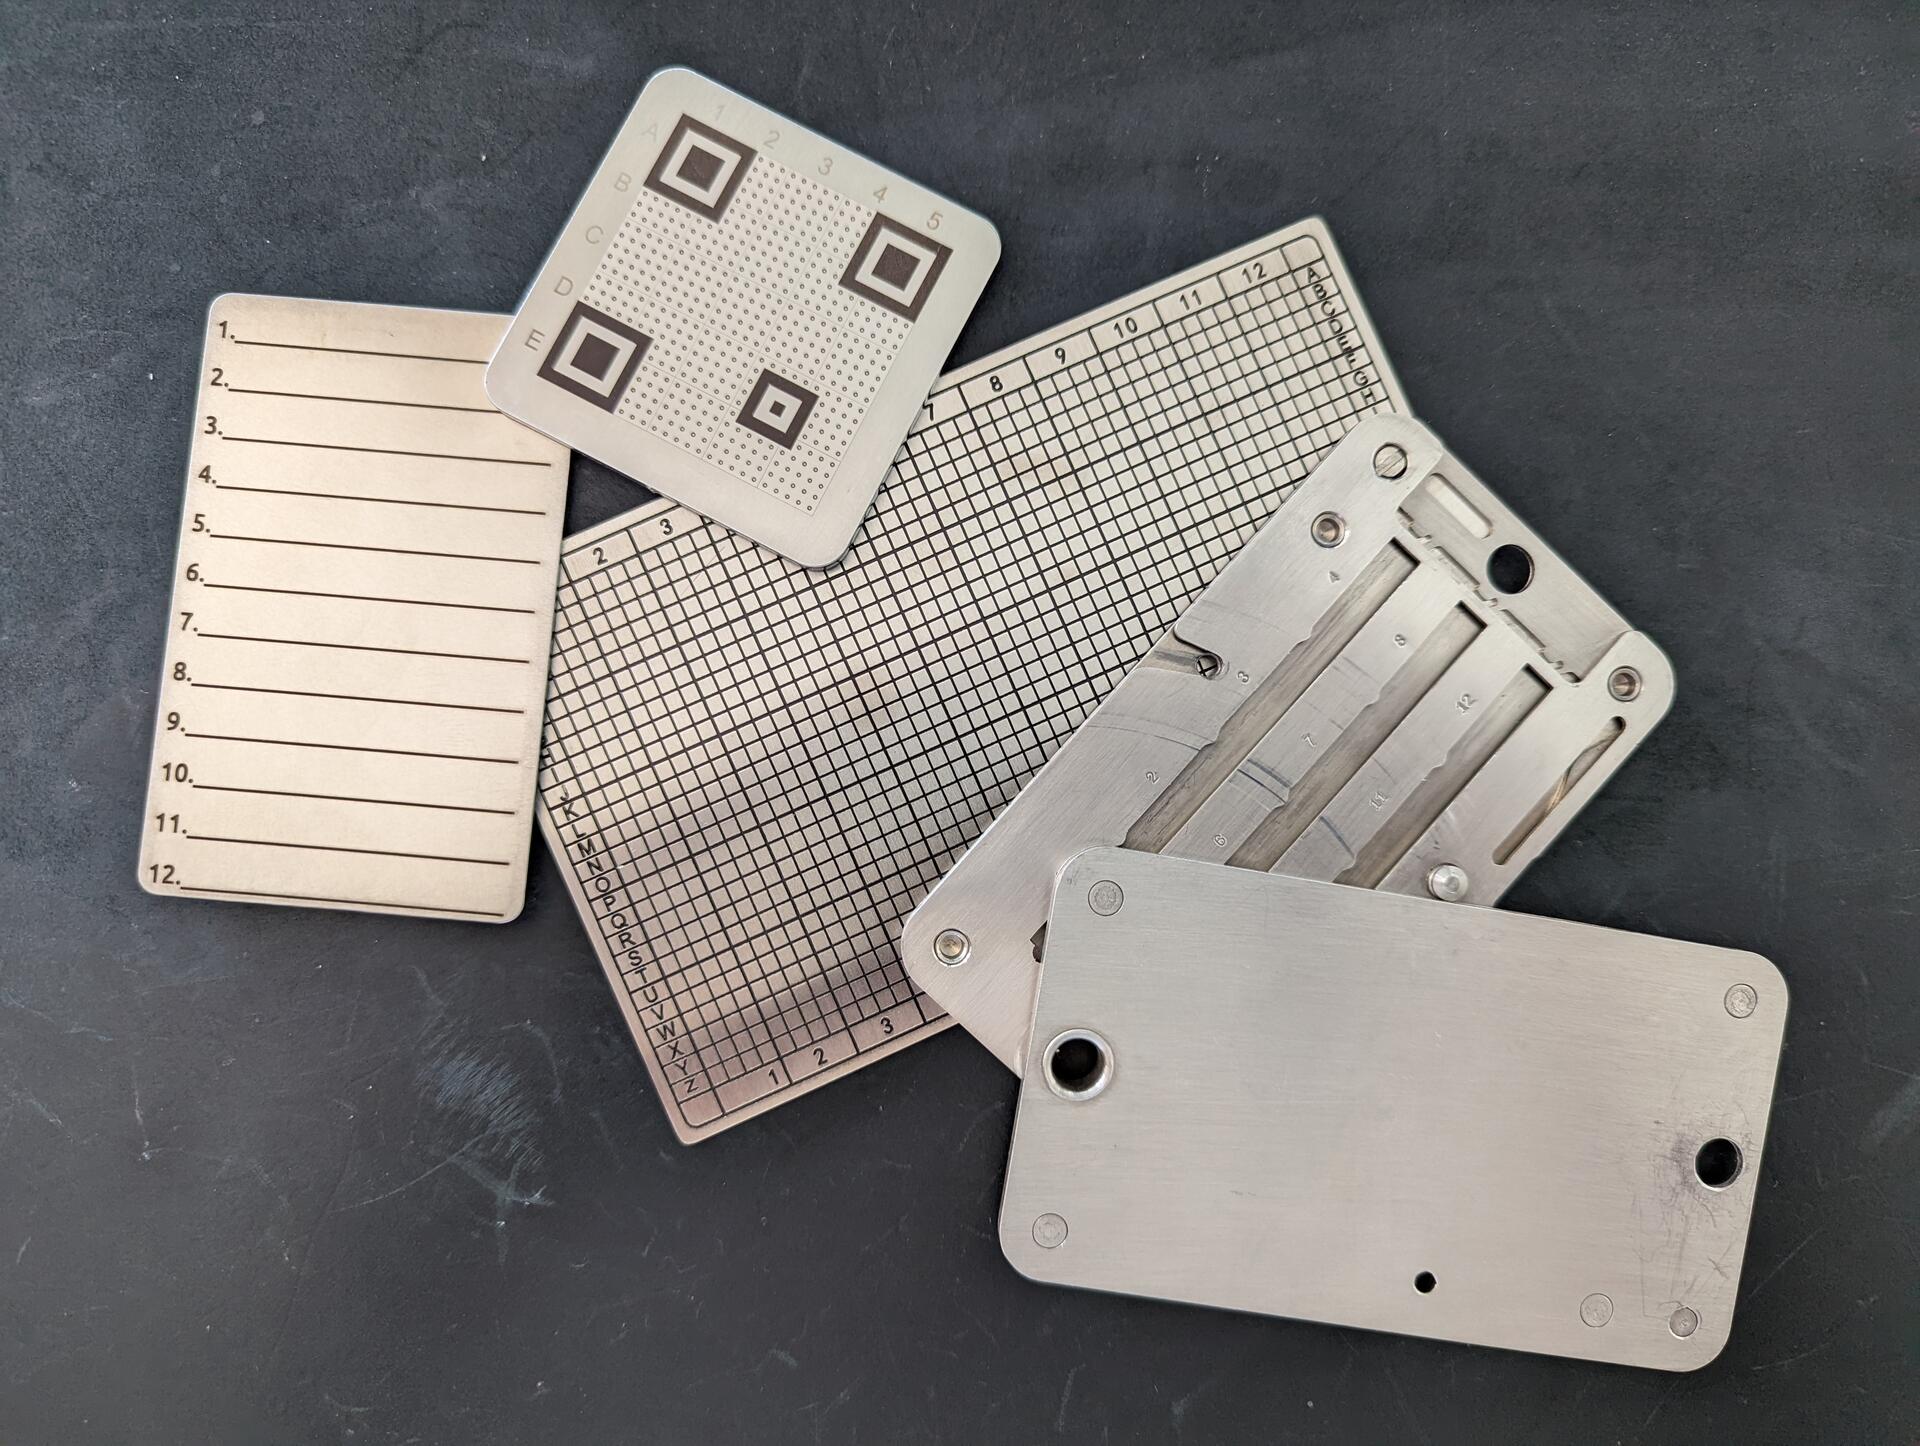
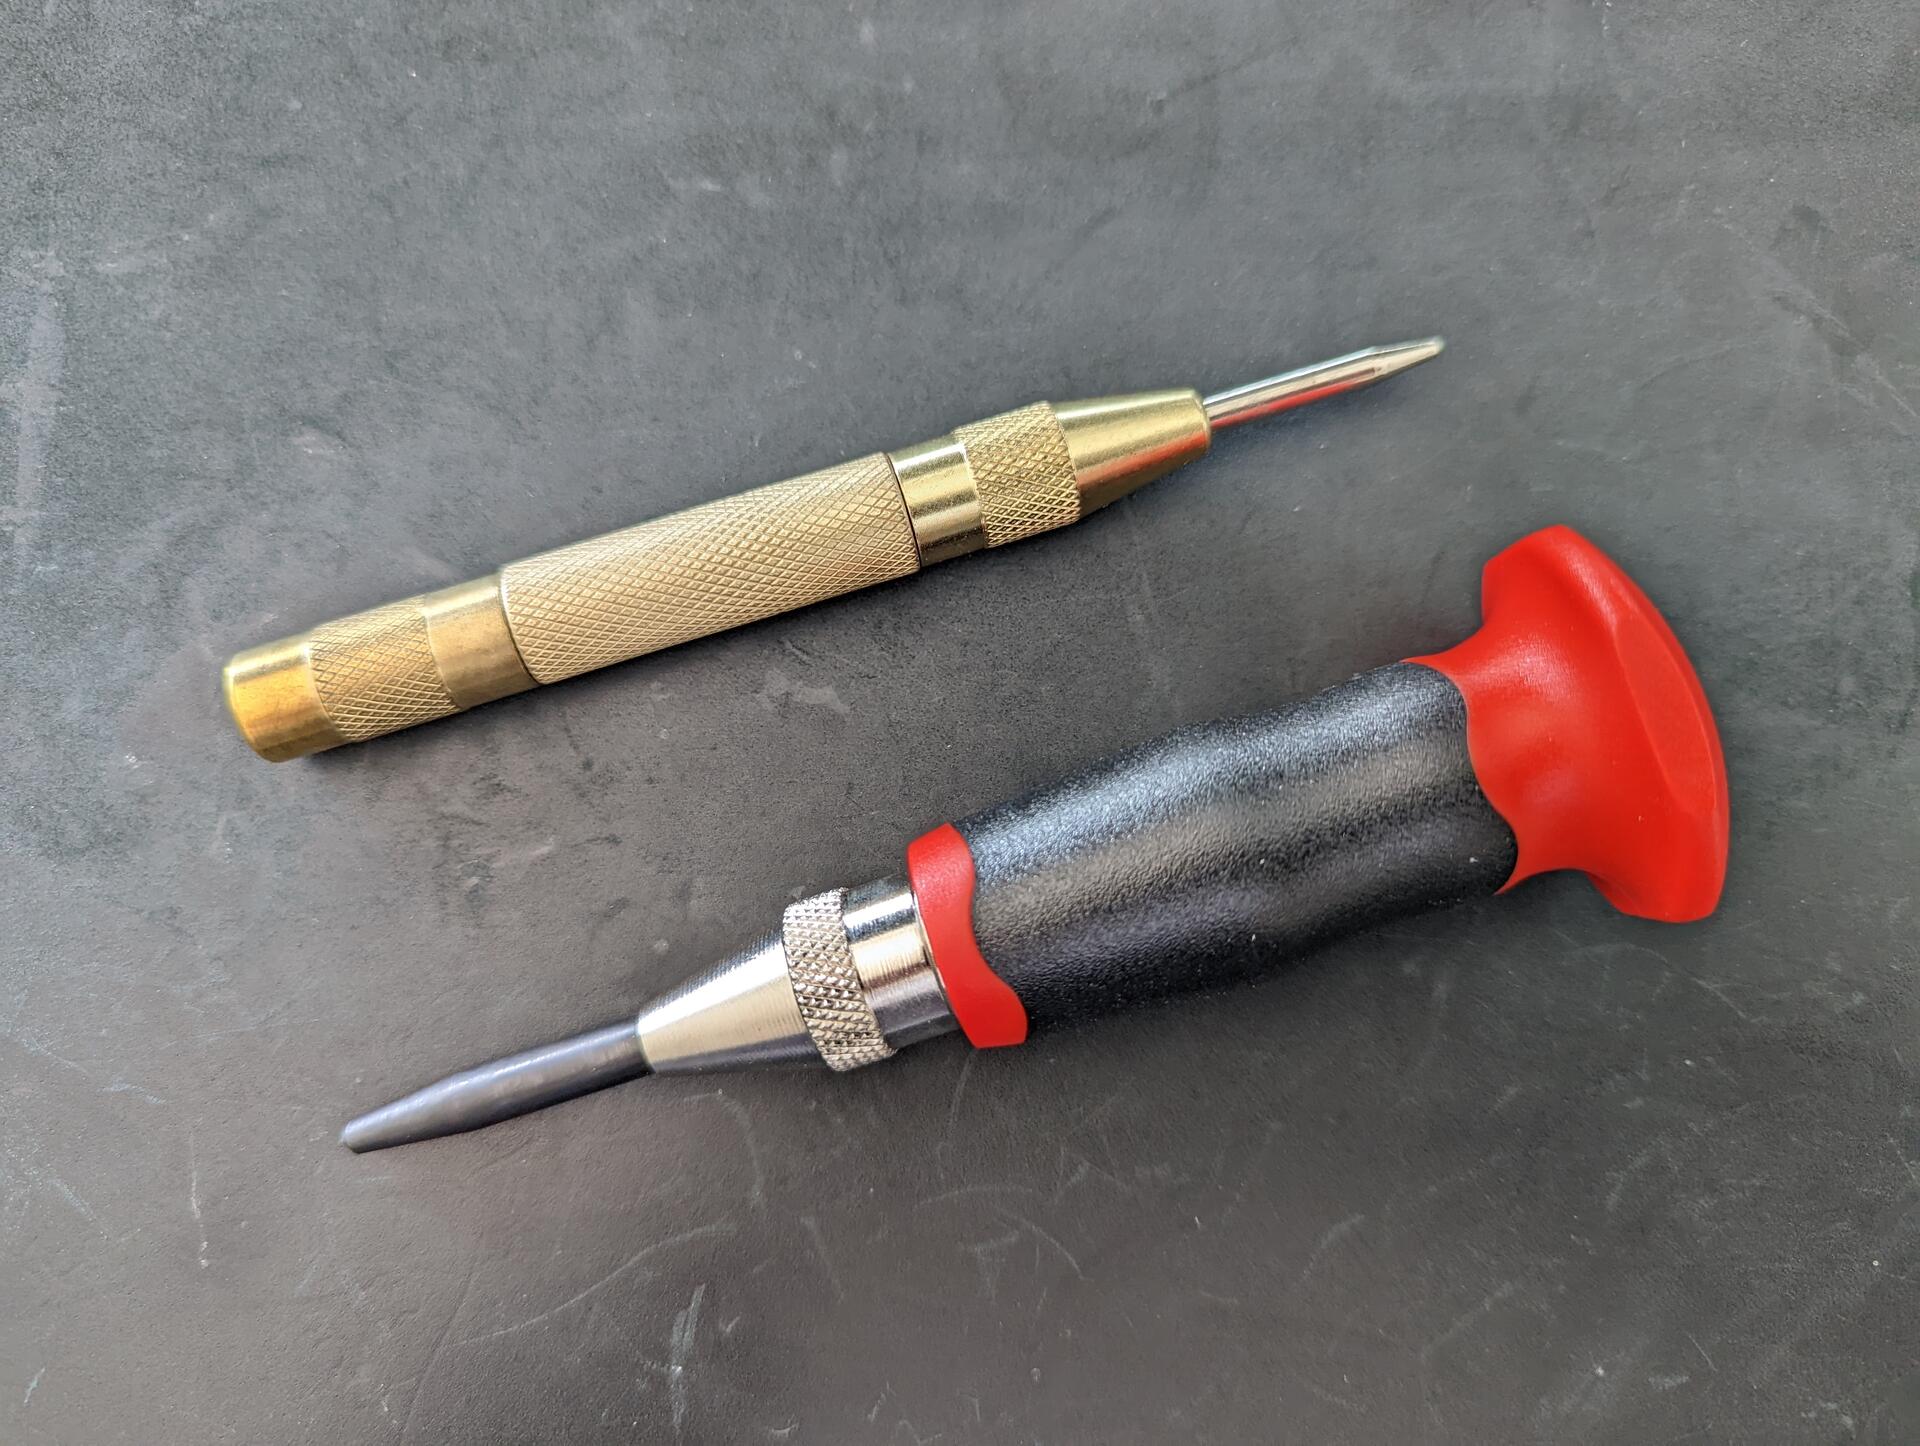
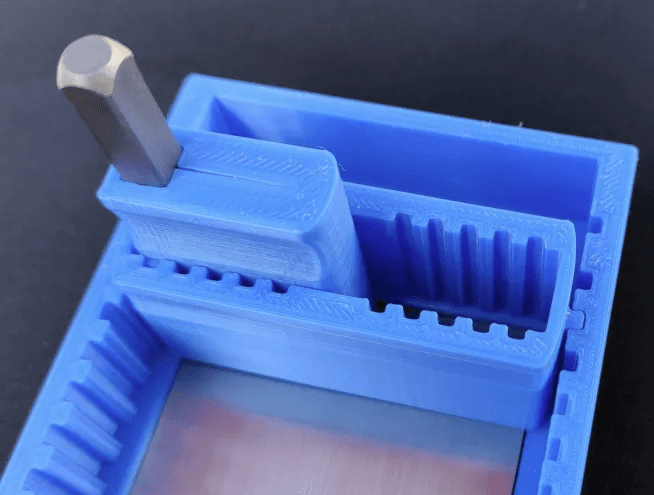
While there are many types of storage methods, I recommend a single center punched, stamped, or etched metal plate per seed. Center punched is the easiest with an automatic center punch. If you are making several plates, an automatic center punch with a palm rest will help.
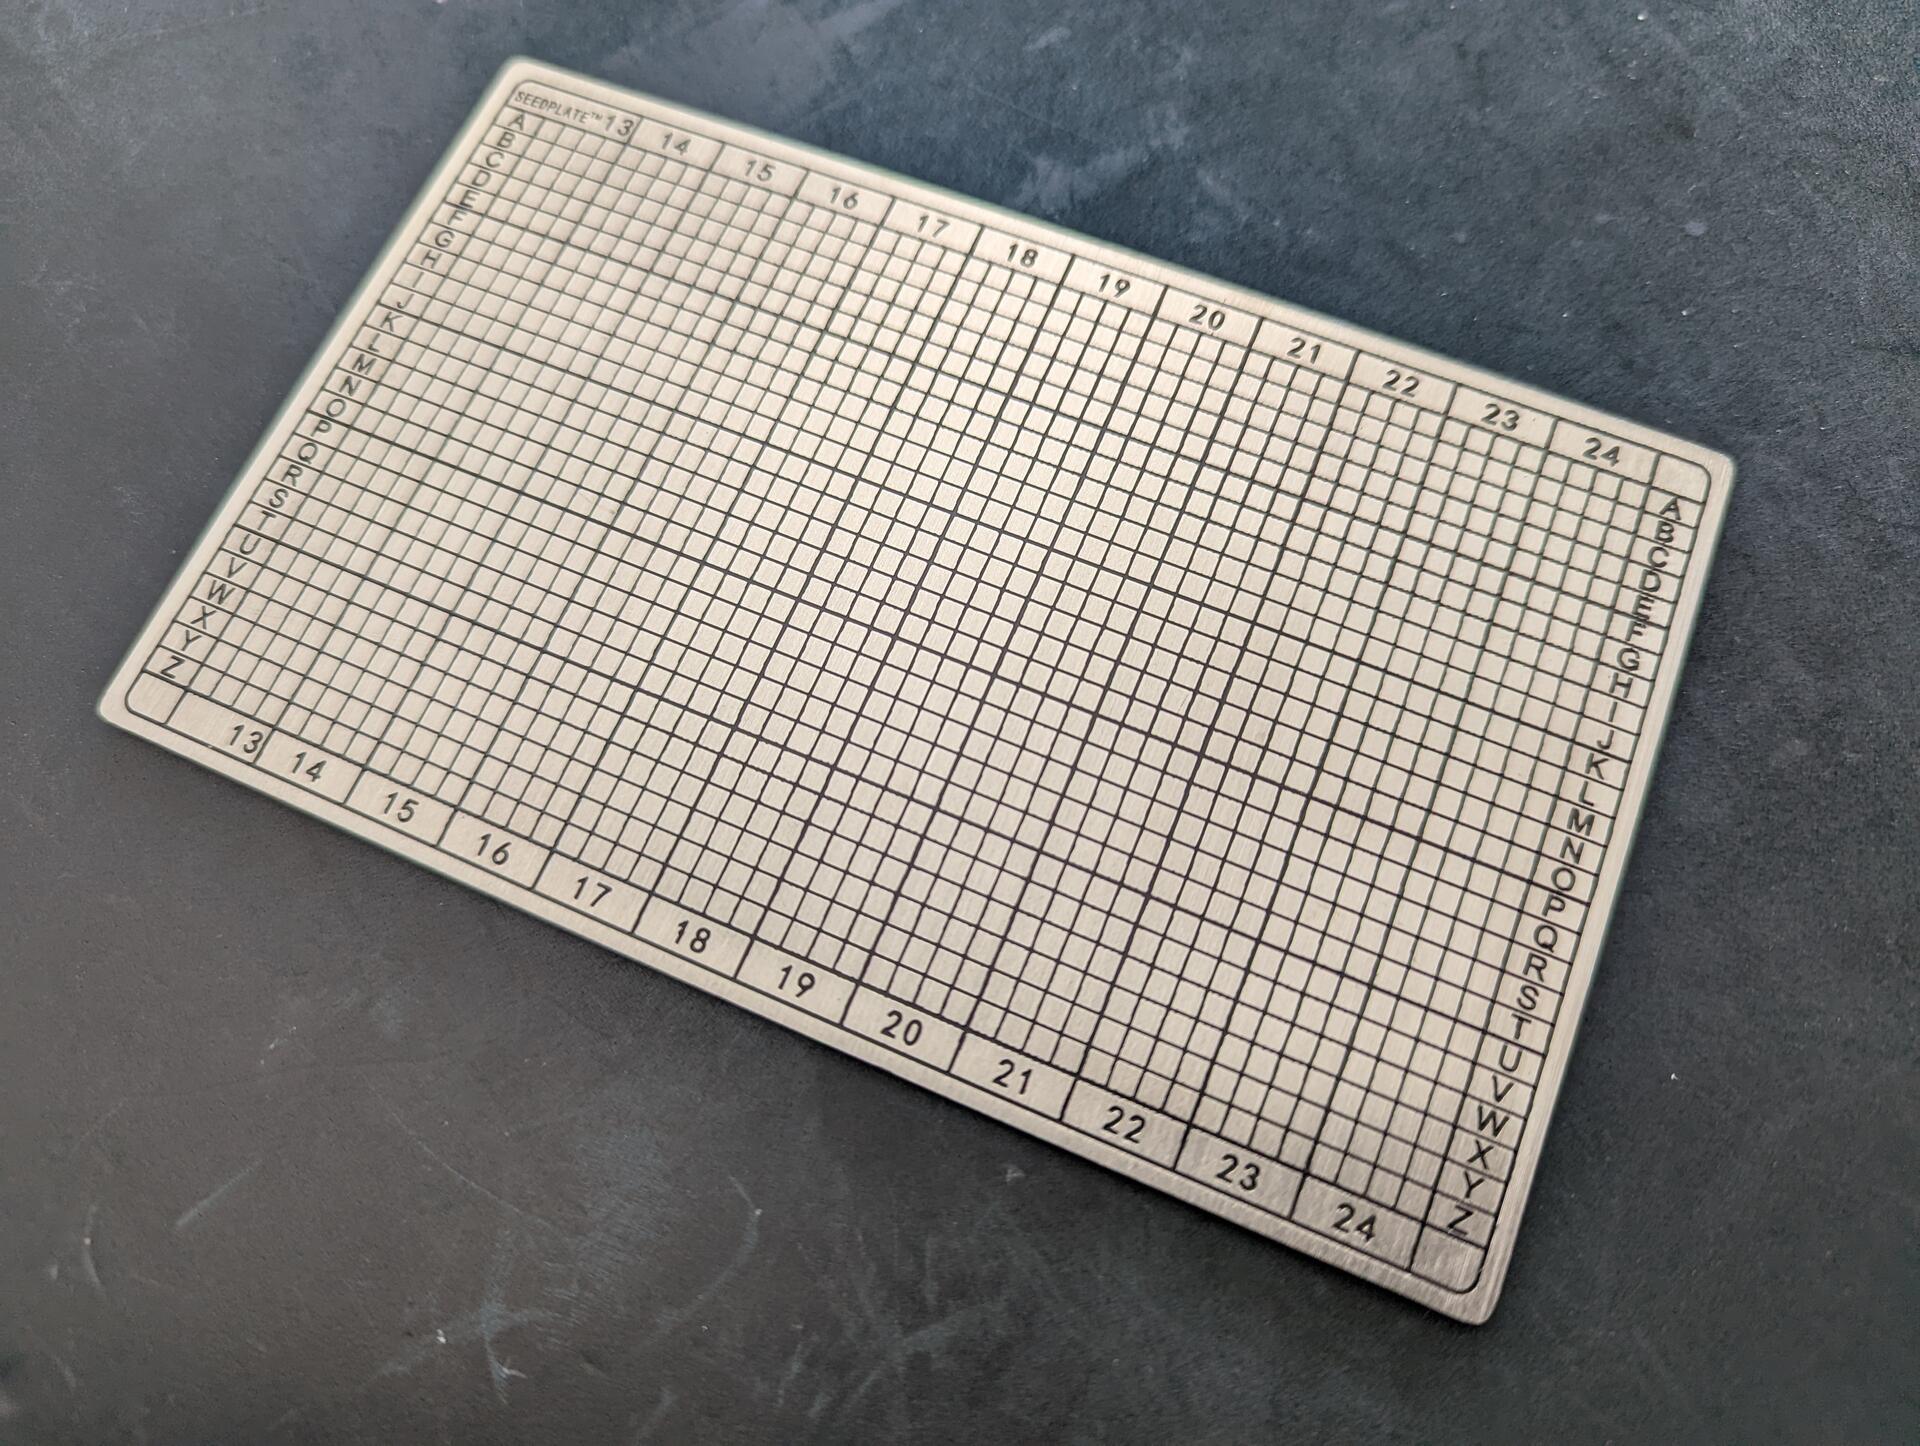
When selecting a seed plate, ensure it is a high quality metal, at a minimum 304 stainless steel or better marine-grade 316L stainless steel. Titanium is also good. Lower grade metals have a higher chance of corrosion or melting.
Use one plate per seed. When multiple parts are involved, there is a higher chance of permanent loss of data if the parts are separated.
Unless you have a particular threat model, avoid seed plates that are too small. Smaller ones become more difficult to read and mark, not just for you but also loved ones (think inheritance). They are also easier to lose. Stick to a standard size.
Before handling your seed, check your environment. Make sure cameras are turned off, phones are put away and covered, window shutters closed, etc. This may seem extreme, and chances may be low, but you are protecting your wealth. Last think you want is compromising your seed.
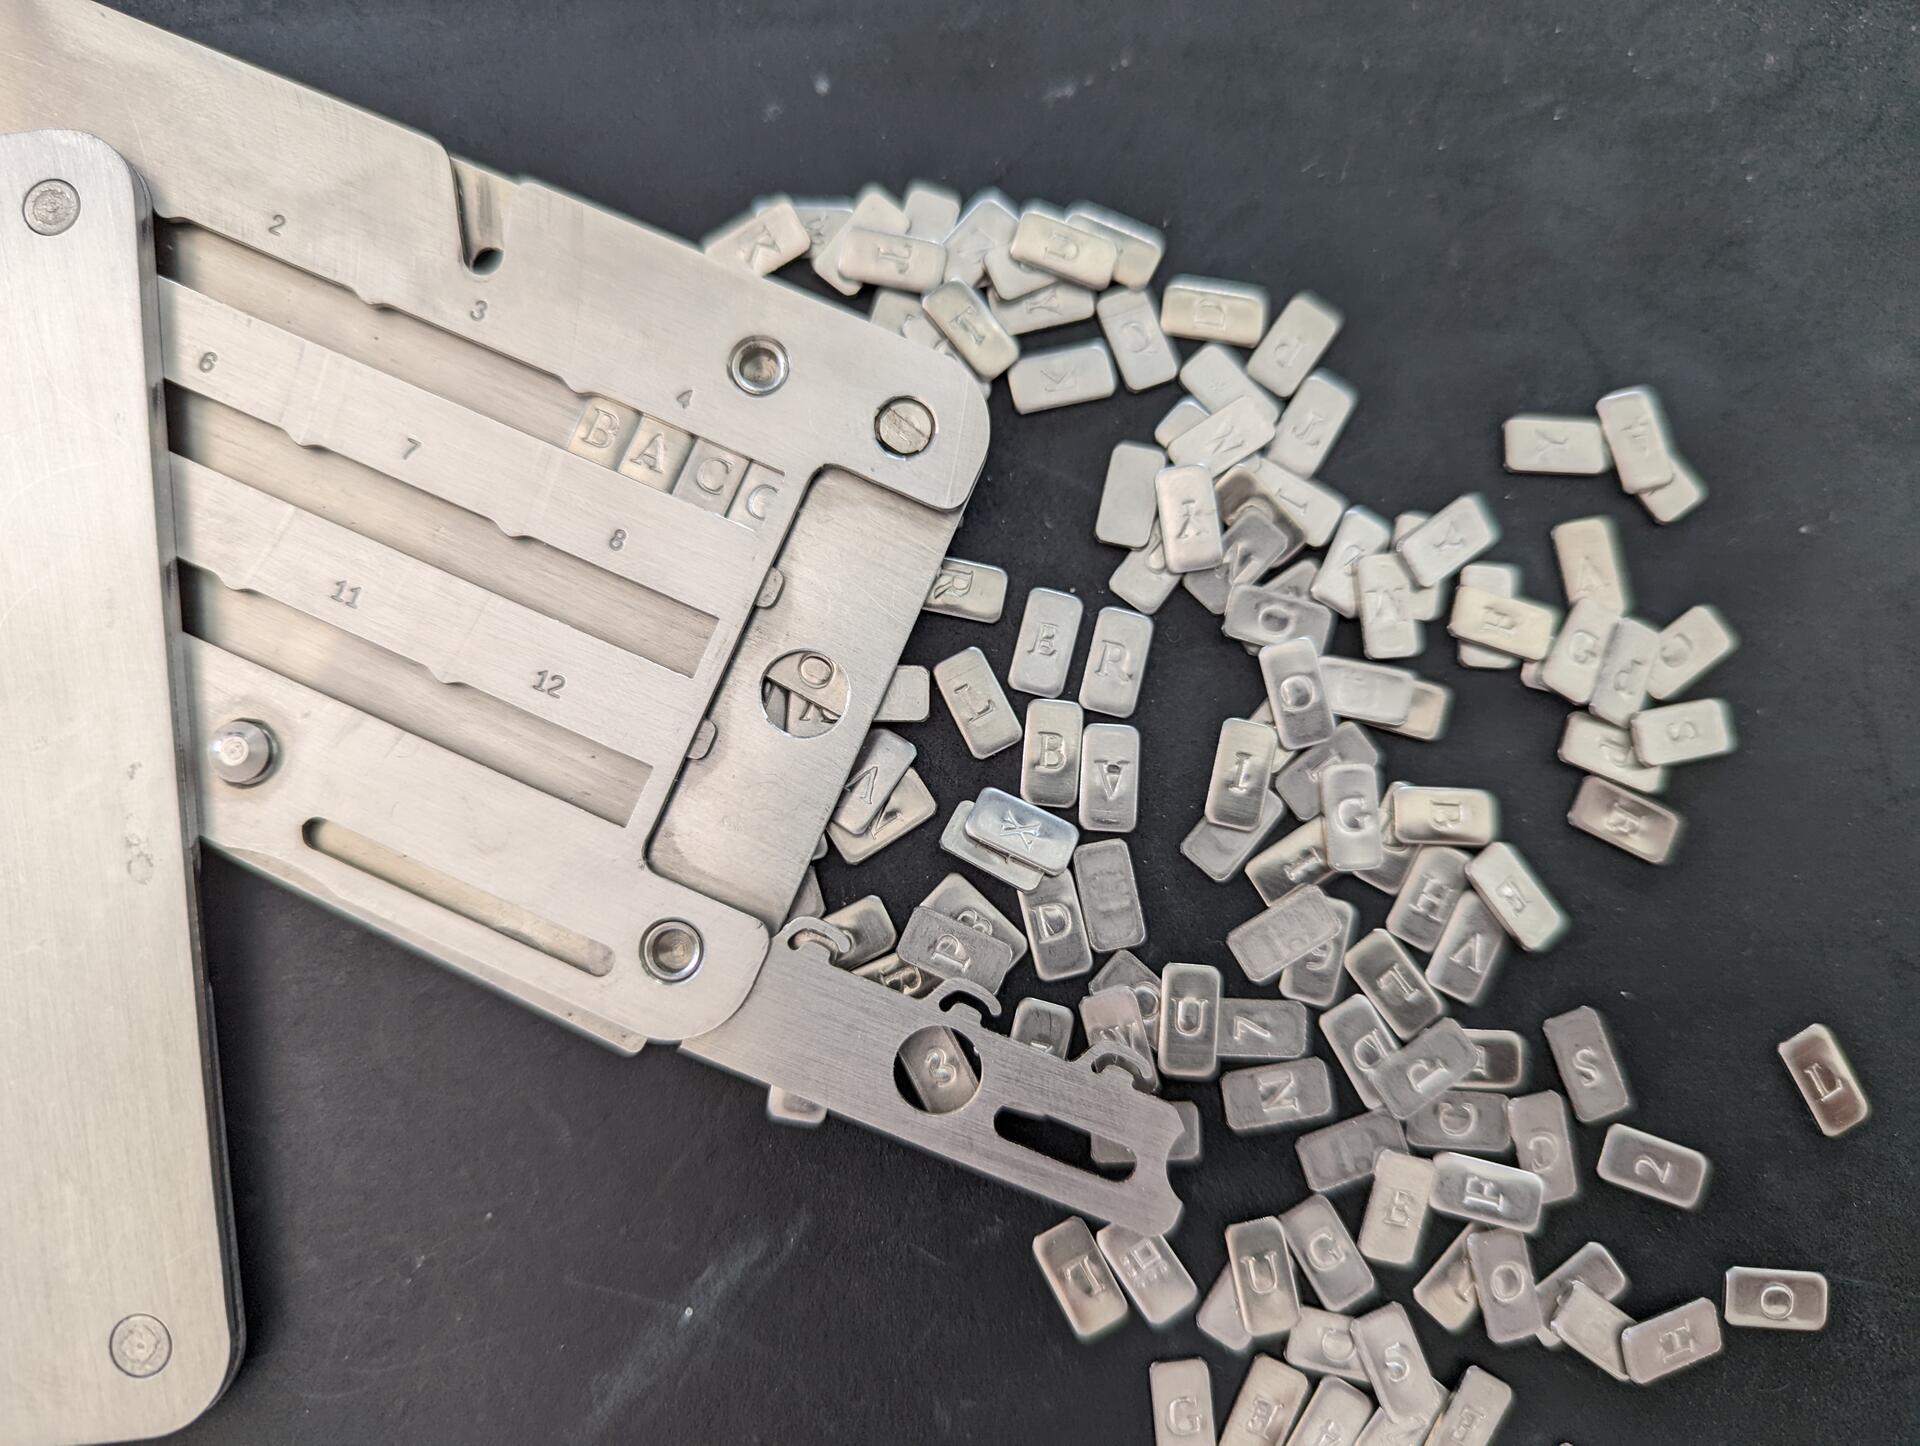
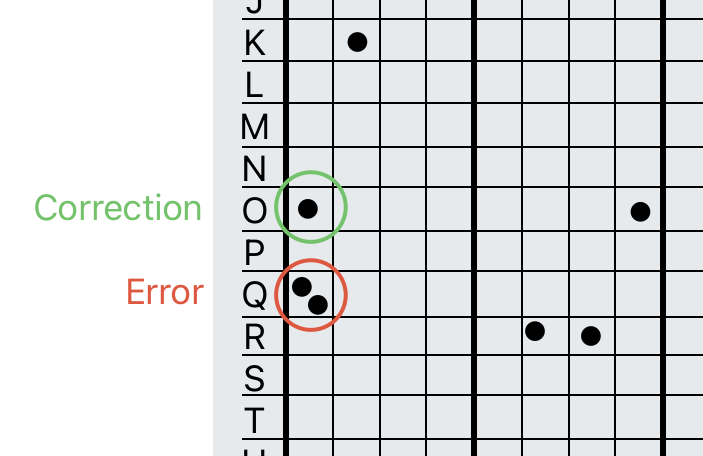
Use a permanent marker to mark the seed before using the center punch or etching. Verify you have not made mistakes before marking. When marking, it is easy to mark the wrong letters for example mixing O and Q or N and M.
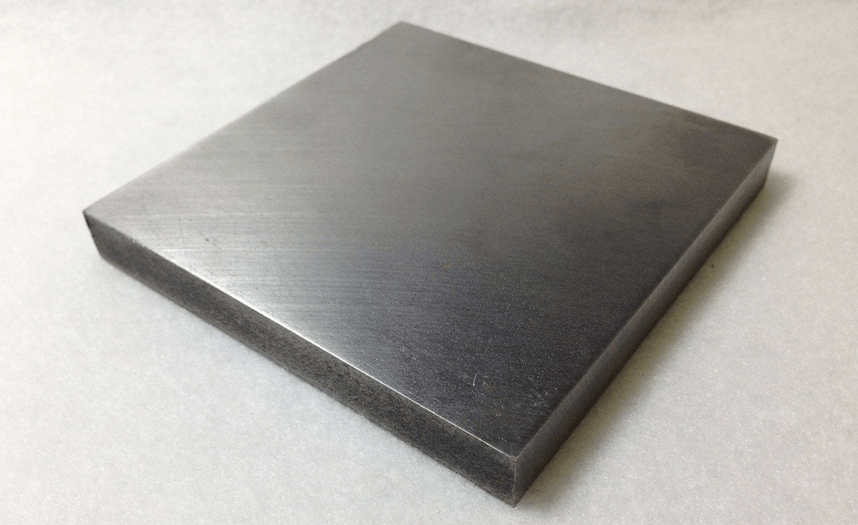
When you start the marking, stamping, etching, ensure marks do not remain on the surface, revealing data about your seed. Preferably, use an anvil. With the automatic center punch you don't need more than 2 punches per letter.
If you use a center punch with a hammer, start easy, chances are you will hit too hard a warp/mark the other side of the plate too. Stamping or etching can be also trickier to mark and read, though e.g. a physical guide can help position the stamp.
If you make an error, don't worry. Define a method and document it with your recovery process, e.g. add a second mark to the error square and then mark the correct square.
Side note: you should have your recovery process documented. I would recommend having a copy in encrypted notes and a printed copy with your inheritance plan. (see privacyguides.org)
For a hardware device, if new, I would recommend deleting the seed from the device, re-importing it using the seed plate, and ensuring the fingerprint matches. This acts as an additional verification that the seed is correct. Never scan or type your seed into an online device.
Label your seed. Don't use the fingerprint, it can reveal the use of a passphrase. Don't use the device name, the device can change e.g. upgrading to latest model.
If the seed was initially on paper before putting it to metal, burn the paper, there should be no traces of the seed left.
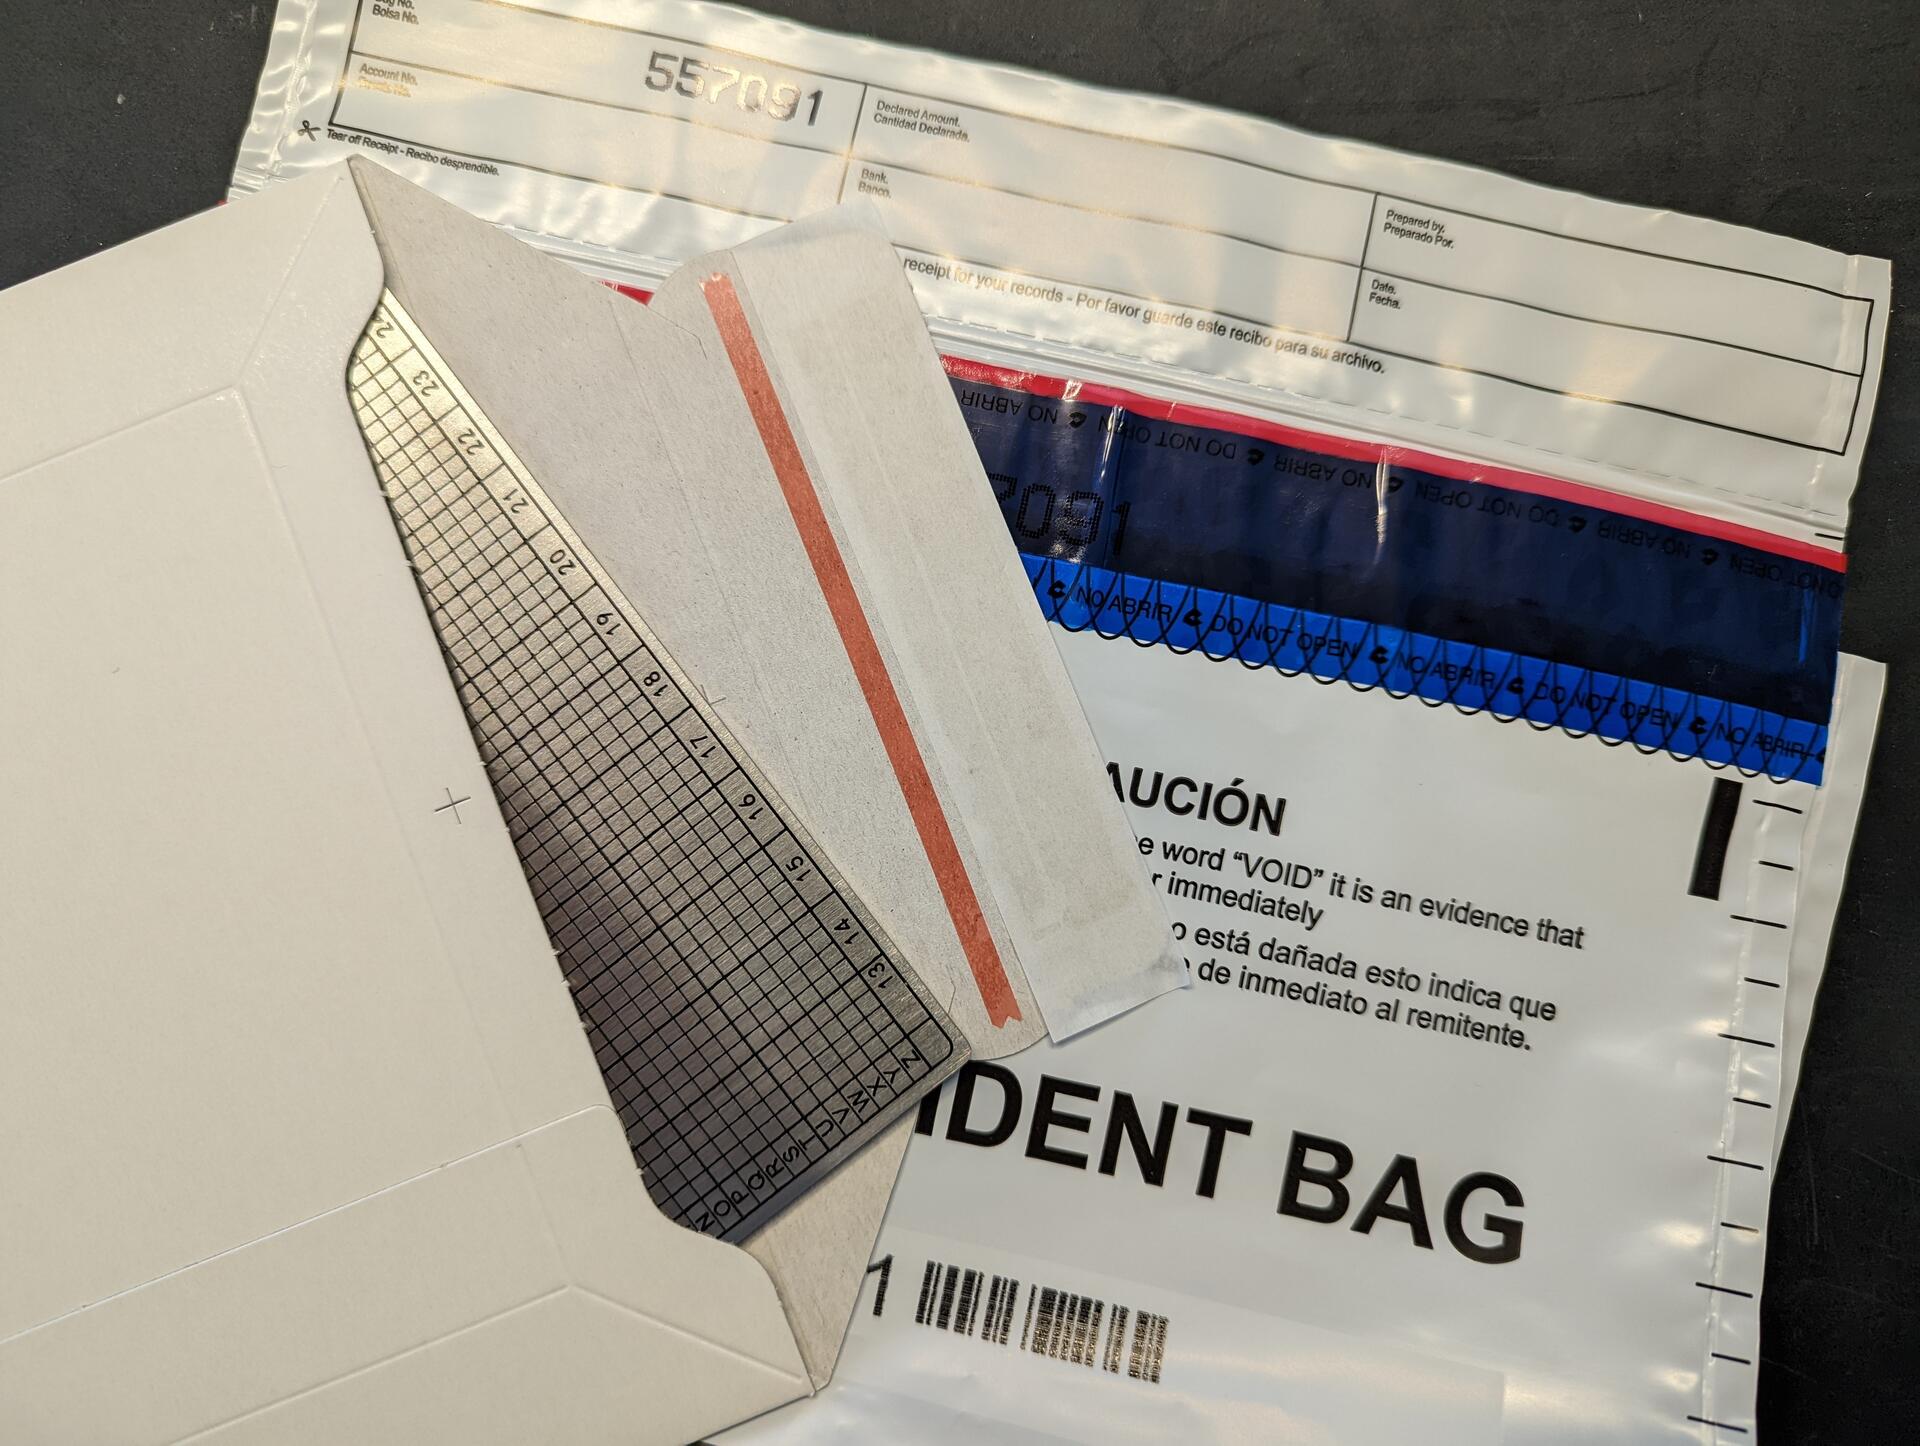
Place the seed in solid cardboard envelope. This so the surface and markings do not reveal any information. Then place it in a tamper evident bag.
Store the your seed plates in a secure location. This will get a post of it's own at some point 😅.
Conduct regular health checks. Every quarter inspect the tamper evident bag for signs of tampering, and every year unpack the plate and check it for signs of damage or corrosion, then repack (remember environment)
Any other best practices? Comment below 😀
These are the seed plates I recommend https://svrgnty.com/resources/storage-backup/